I am writing this blog to explain how to set up a node js application on the AWS server using PM2.
Checklist…
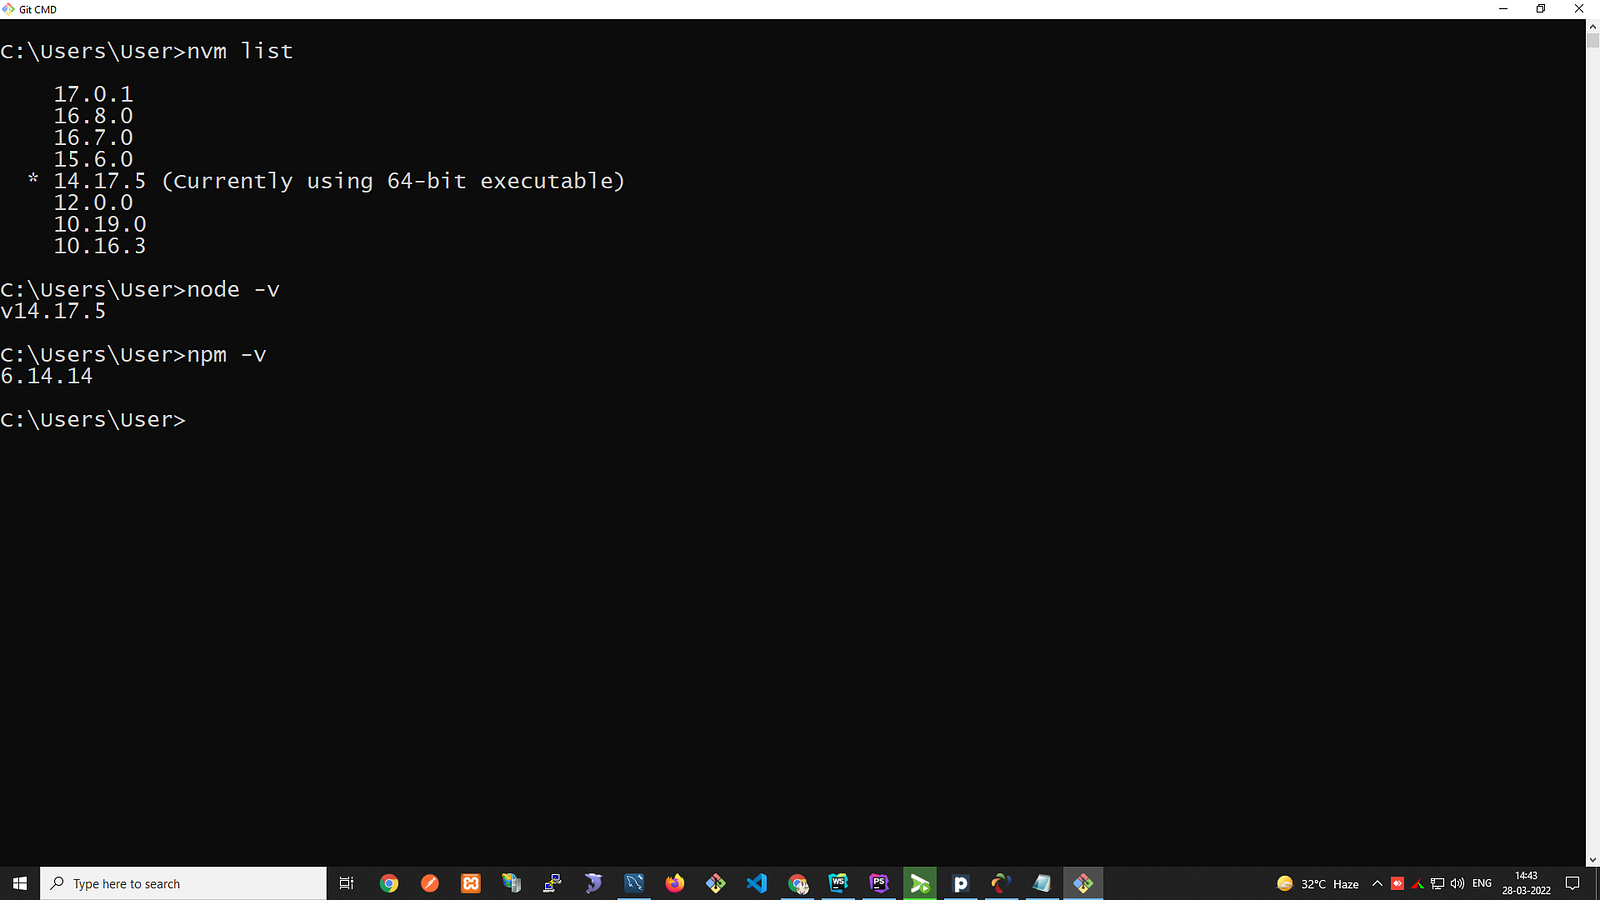
- Check the version of Node JS & NPM
- Nest CLI Tool to build fresh node application — https://docs.nestjs.com/cli/overview
- Perform a CRUD operation for the user’s module
- Create a new EC2 instance on AWS & install the required dependencies
- Clone your public repository and install dependencies
- Update DNS record to add A record which points to our instance public IP
- Demo
1. Check the version of Node JS & NPM
2. Nest CLI Tool to build fresh node application
Nest (NestJS) is a framework for building efficient, scalable Node.js server-side applications, To get started, you can either scaffold the project with the Nest CLI, or clone a starter project (both will produce the same outcome).
Use these commands to set up the node js application
$ npm install -g @nestjs/cli
$ nest new nest-demo
$ cd nest-demo
$ npm run start:dev
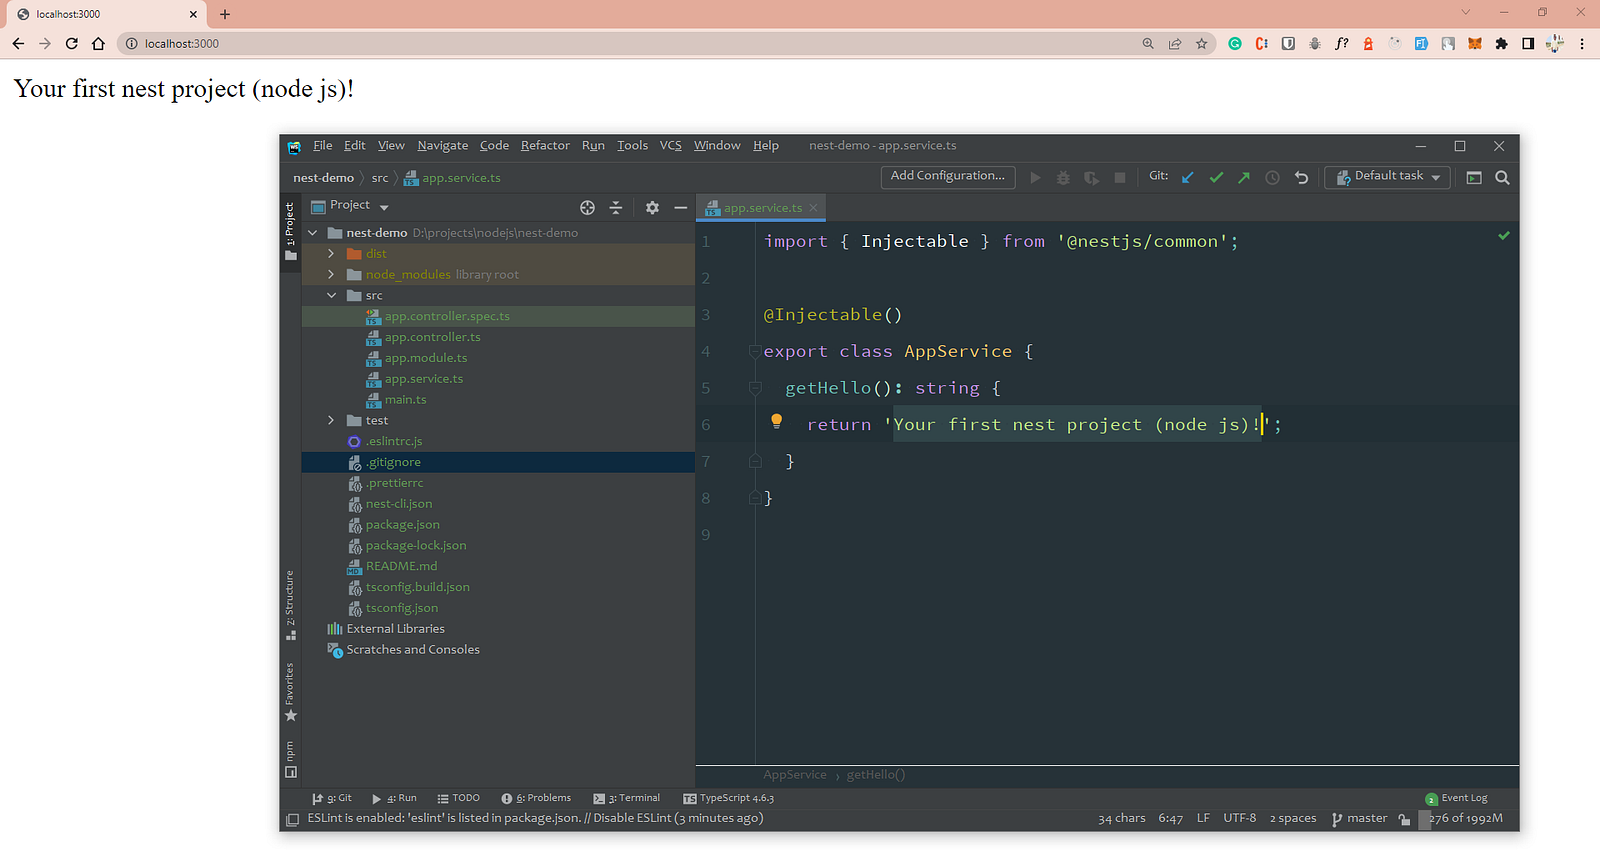
In your browser, open http://localhost:3000 to see a new application running. The app will automatically recompile and reload when you change any of the source files
3. Perform a CRUD operation for the user’s module
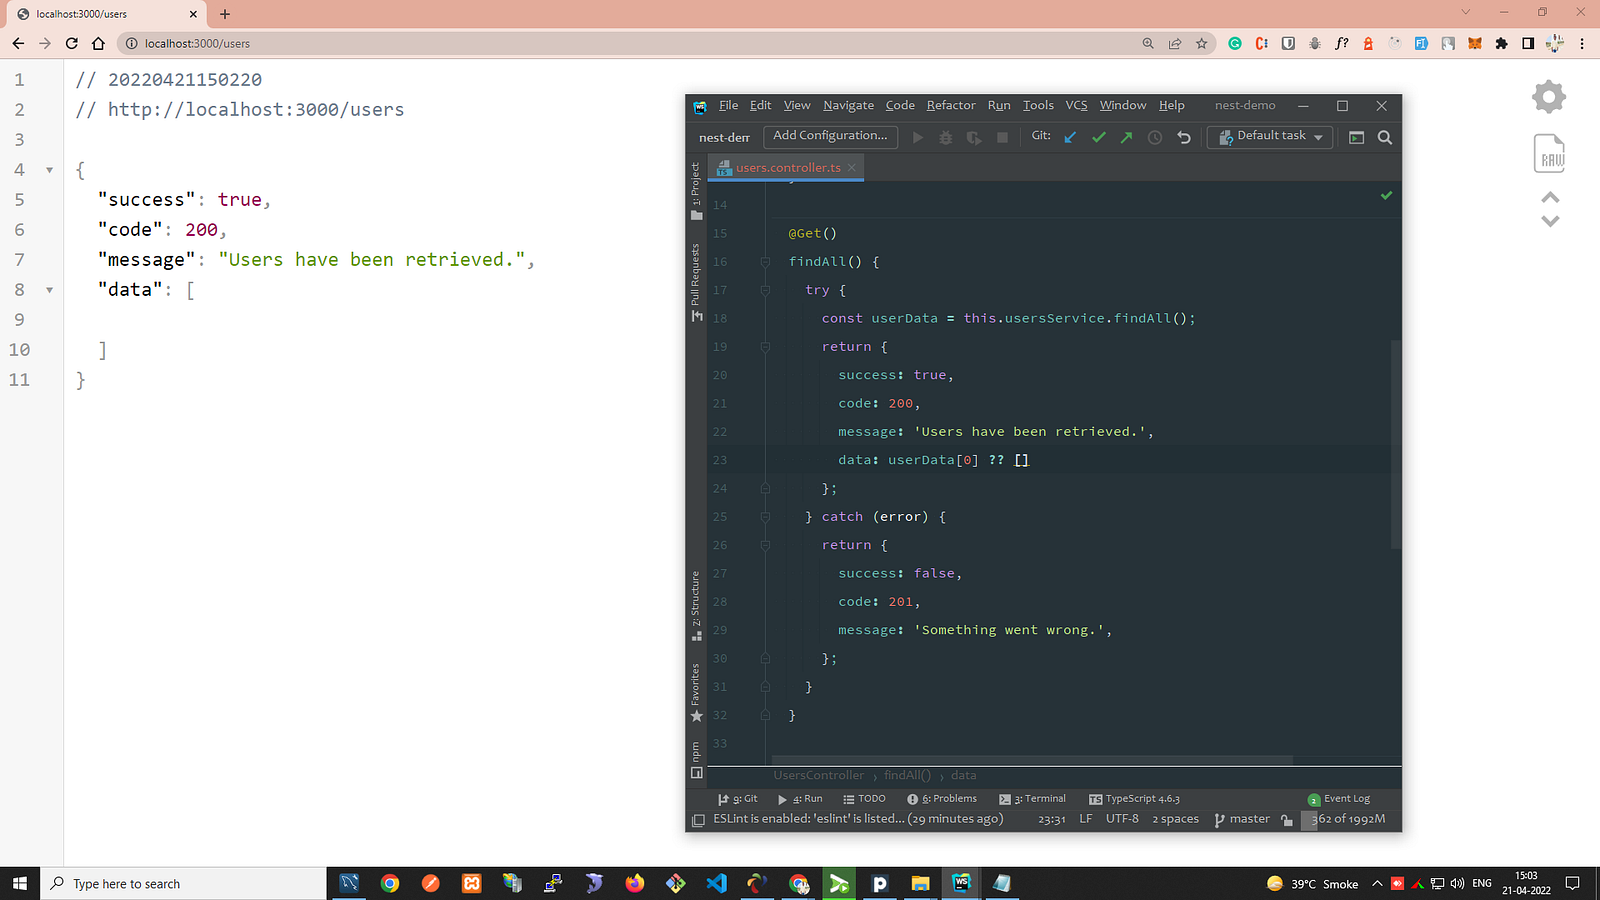
https://blog.devsharma.live/nest-js-rest-api-tutorial will help you to complete the user’s module with REST APIs, Once you are done with it you can use /users route to get all the users
4. Create a new EC2 instance on AWS & install required dependencies
You can review this document to get a detailed understanding of AWS EC2
Steps…
- Log in with your AWS credentials
- Goto the EC2 service
- Click on the “Launch instances” button
- Choose AMI — “Ubuntu Server 20.04 LTS (HVM), SSD Volume Type”
- Choose an Instance Type — “t2.micro Free tier eligible”
- Configure Instance — Keep as it is
- Add Storage — Keep as it is
- Add Tags — Name: Nest Demo
- Configure Security Groups — HTTP (80), HTTPS (443) & SSH (22)
- Review & Launch
- Select an existing key pair or create new key pair before launching an instance
- Your instance will be up in a few minutes.
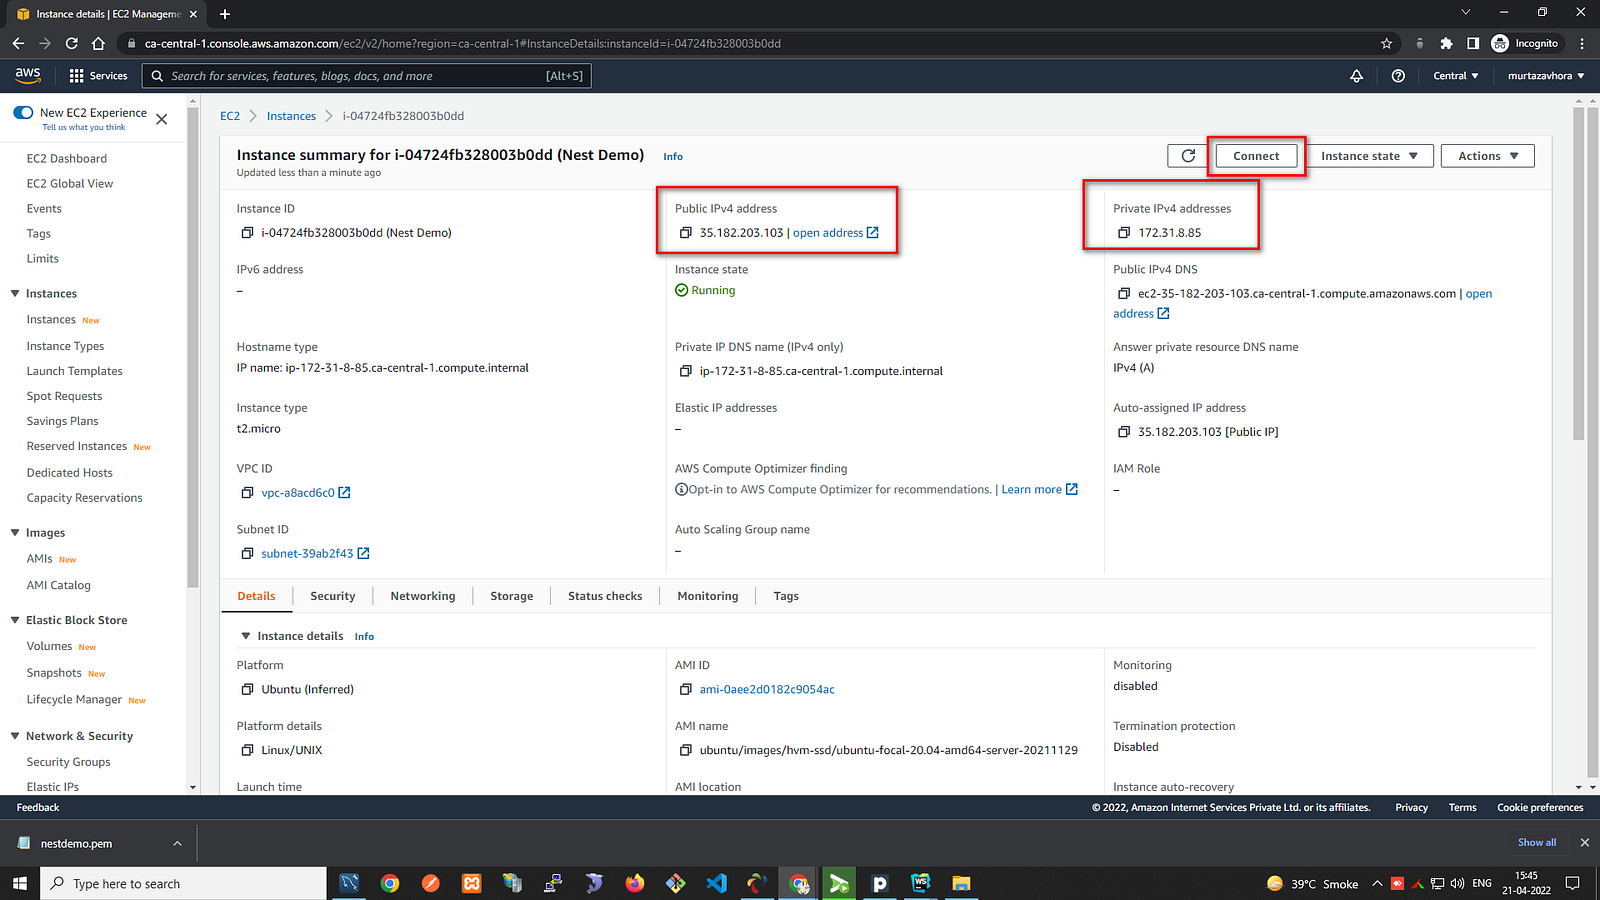
- Connect your server and run
sudo apt upgrade&sudo apt update - Review this document to install Nginx
which can help you to run your application with IP,
sudo service
            nginx status
will help you to check if the Nginx service is running or not - Once it’s done you can use your public IP in any browser and see the output
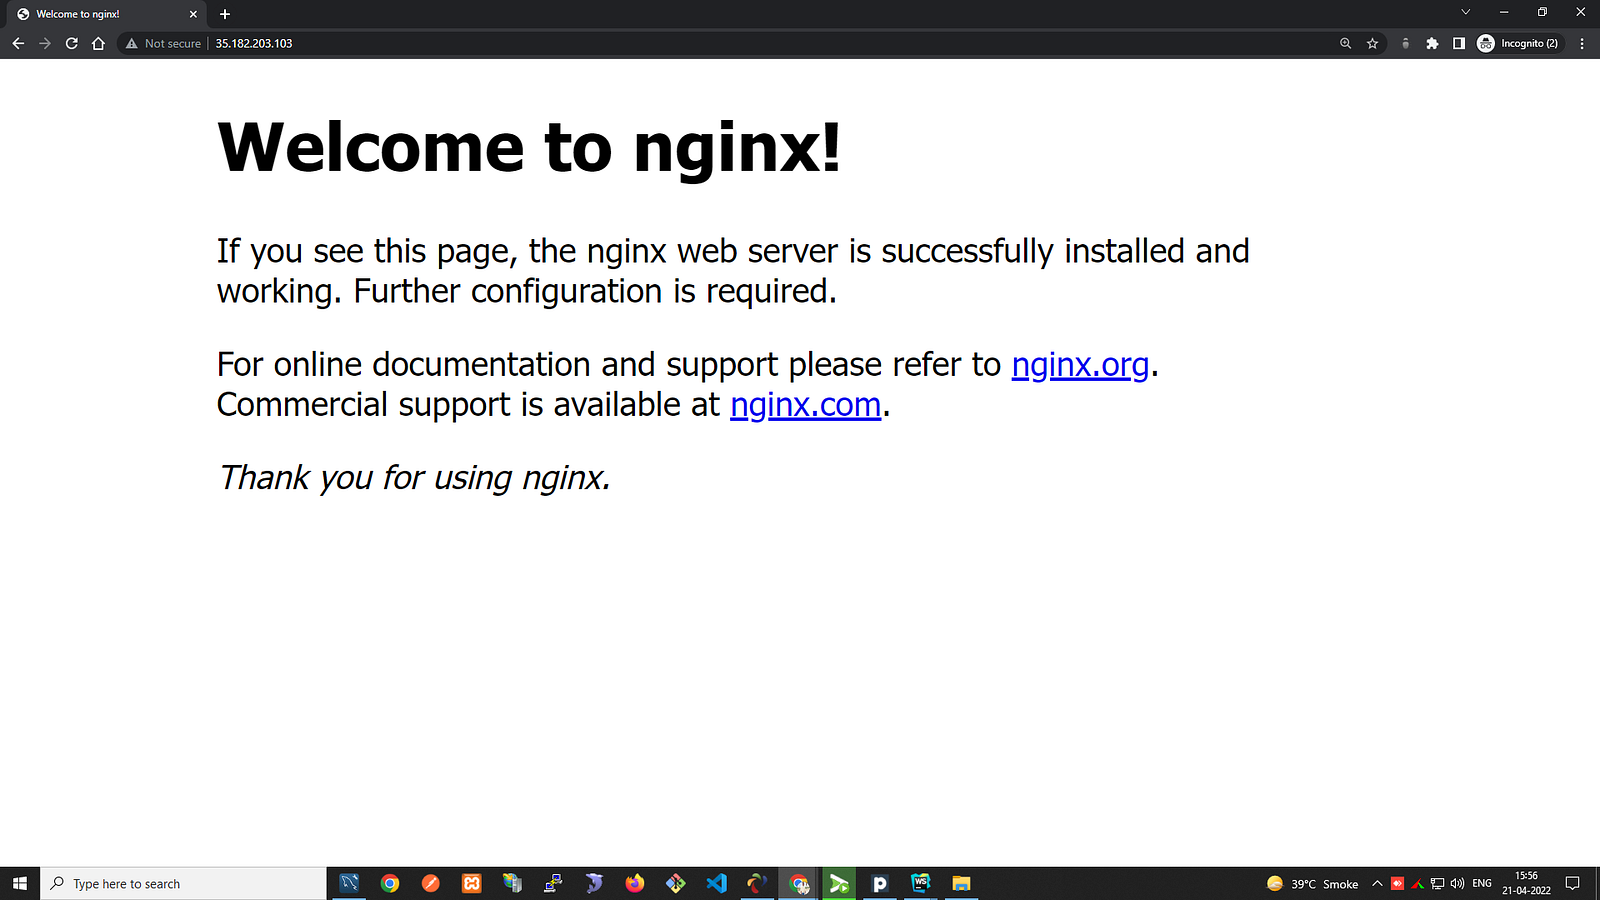
Now use the following commands to update the permission of your root directory…
$ cd ~
$ sudo chmod -R o+w /var/www/html
5. Clone your public repository and install dependencies
$ cd /var/www/html
$ git clone https://github.com/developer-murtazavhora/nest-demo.git
$ cd nest-demo/
Following commands which are required to set up node js and other dependencies…
$ curl -sL https://deb.nodesource.com/setup_14.x | sudo -E bash -
$ sudo apt install -y nodejs
$ sudo npm install -g pm2
$ node -v
$ pm2 status
To serve your build using PM2 you need to set up the configuration file for this application
{
  "apps": [
    {
      "name": "nest_demo",
      "script": "./dist/main.js",
      "max_memory_restart": "4G",
      "instances": "max",
      "exec_mode": "cluster_mode",
      "ignore_watch": [
        "node_modules",
        "uploads"
      ],
      "exp_backoff_restart_delay": 100,
      "autorestart": true,
      "env": {
        "NODE_ENV": "development"
      }
    }
  ]
}
Once you are done with adding a pm2.json file to the root directory of your application, you are good to start your node js application and generate a build
$ npm install
$ npm run build
$ pm2 start pm2.json
$ pm2 save
$ pm2 status
6. Update DNS record to add A record which points to our instance public IP
Before updating a DNS record from Route 53 Service you need to update the
configuration of your Nginx, Run cd /etc/nginx/sites-available
& sudo nano default
server {
    server_name nest-demo.internetofweb.com;
    index index.html index.htm;
    access_log /var/log/nginx/nest-demo.log;
    error_log  /var/log/nginx/nest-demo-error.log error;

    underscores_in_headers on;

    location / {
        proxy_set_header X-Forwarded-For $proxy_add_x_forwarded_for;
        proxy_set_header X-Forwarded-Proto $scheme;
        proxy_set_header X-Real-IP $remote_addr;
        proxy_set_header Host $http_host;
        proxy_pass http://localhost:3000;
        proxy_redirect off;
    }
}
Restart the Nginx server using sudo
service nginx restart command
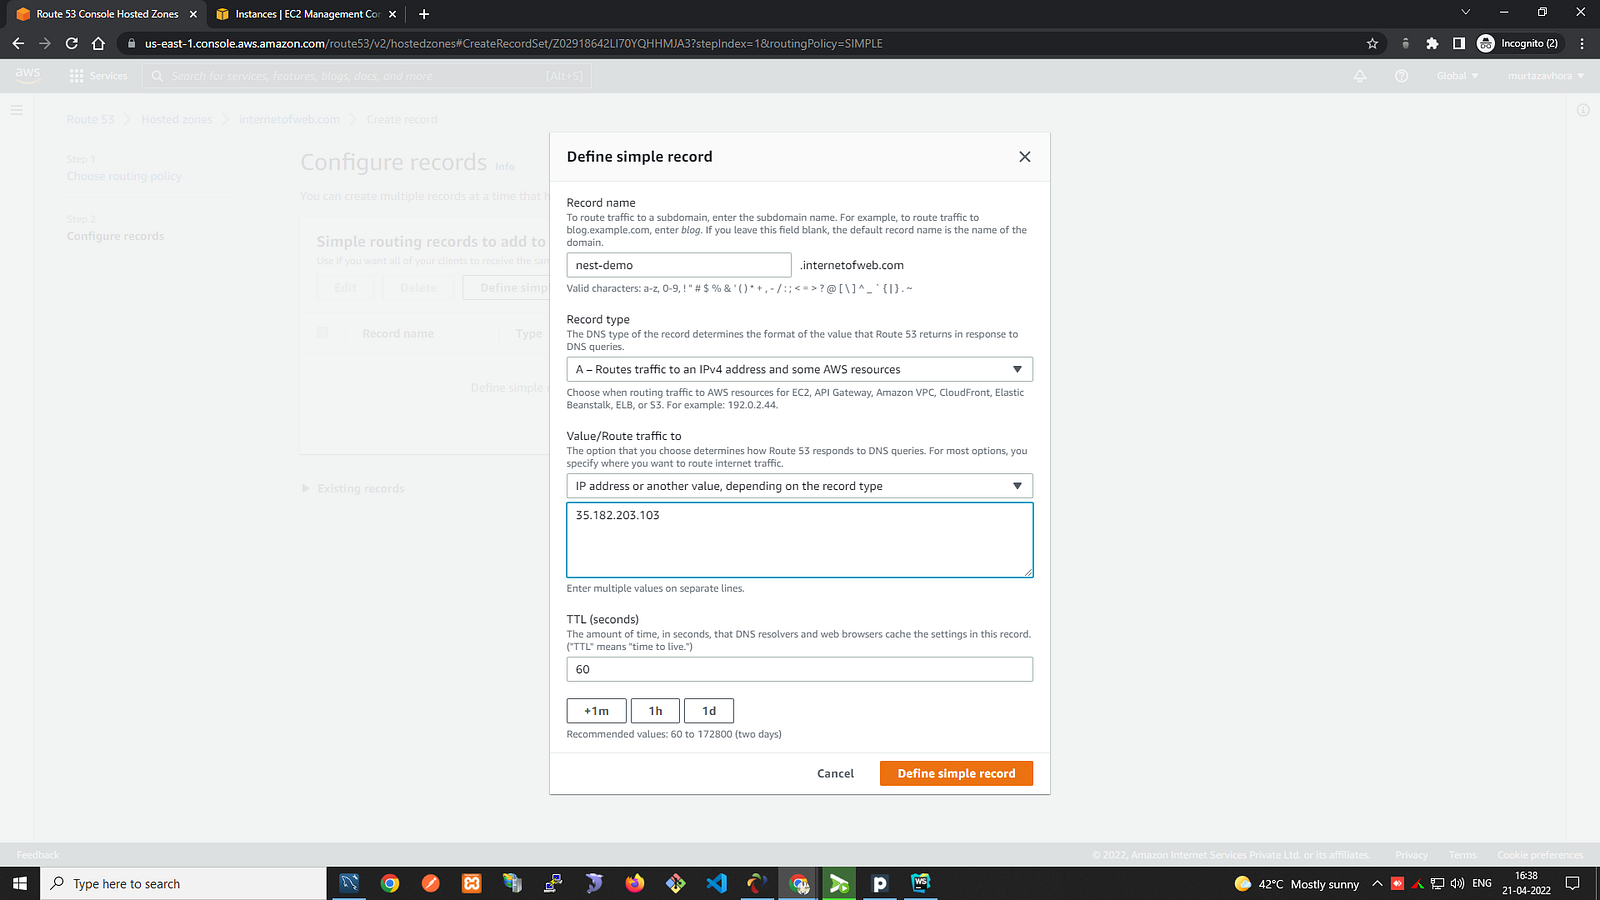
- Goto the Route 53 service
- Select your hosted zone
- Define simple routing like below
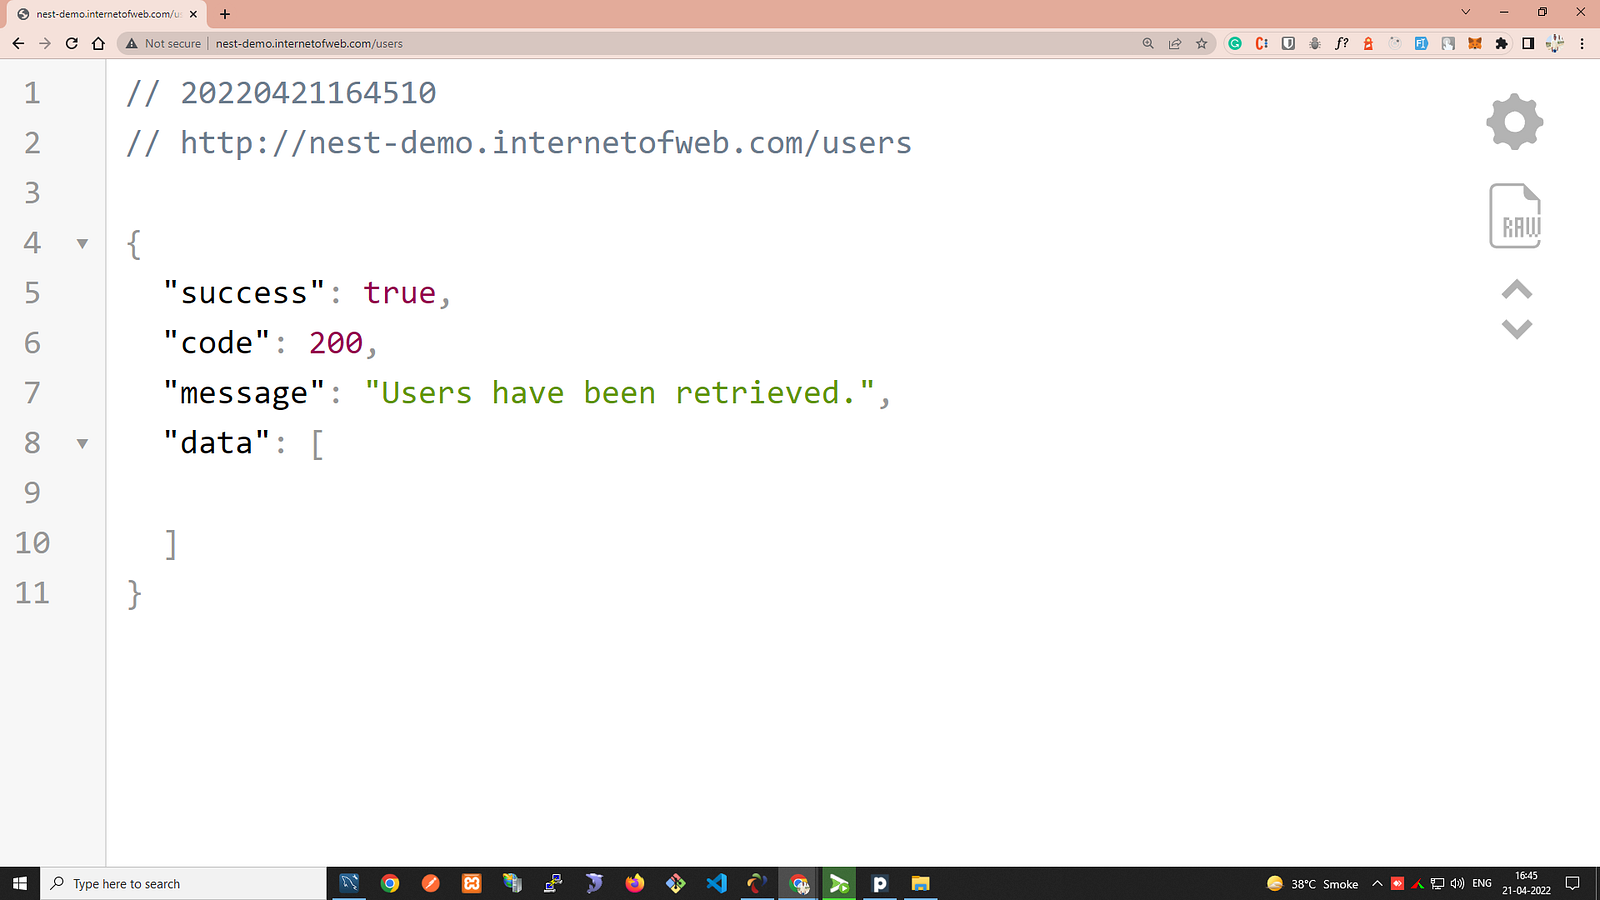
7. Demo
http://nest-demo.internetofweb.com/users/
