
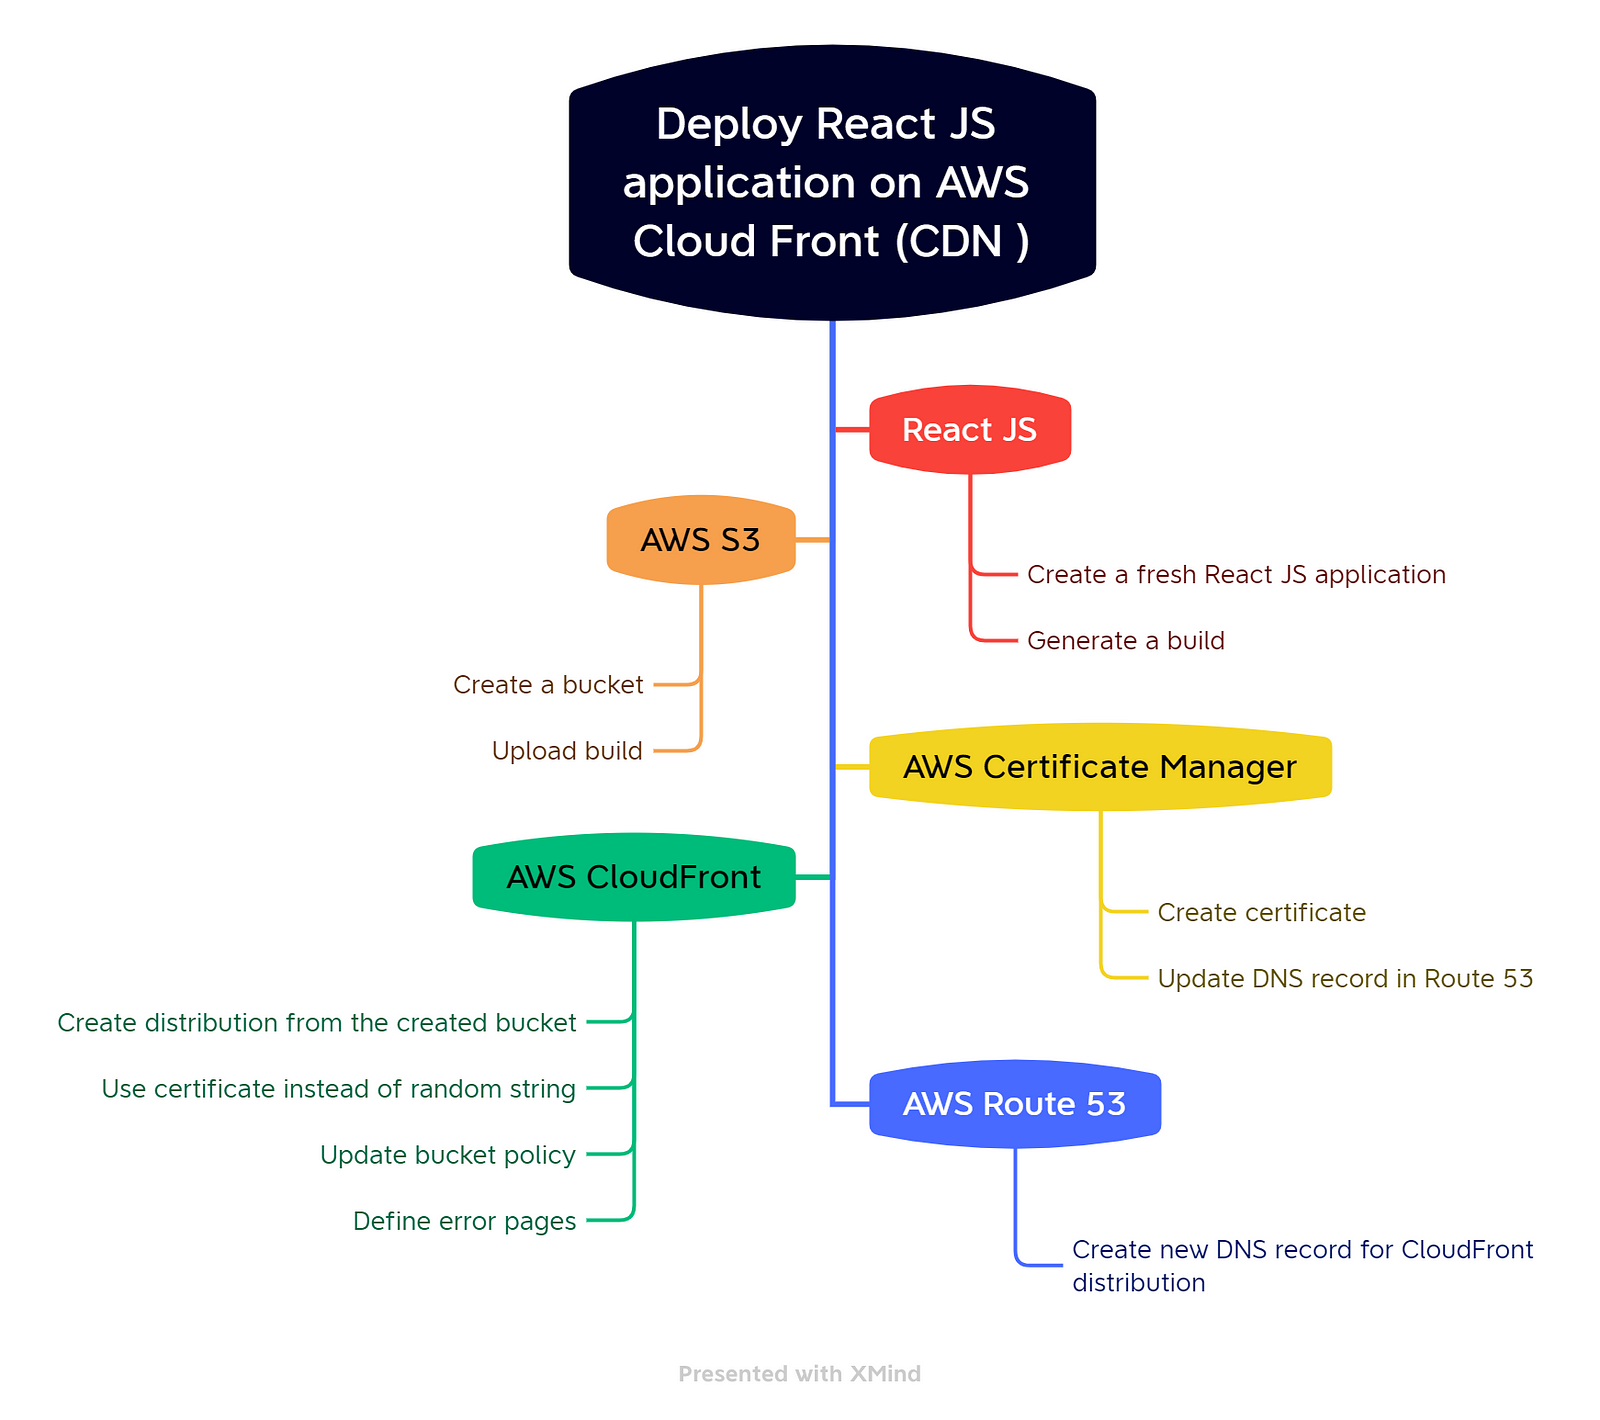
I am writing this blog to explain how to set up a react application on the cloud front (CDN) using the s3 bucket.
Checklist…
- Check the version of Node JS & NPM
- React CLI Tool to build fresh react application — https://create-react-app.dev/docs/getting-started
- Setup S3 bucket on AWS & upload build
- Create a certificate from the AWS Certificate Manager and update the DNS record
- Create distribution (CDN) on AWS
- Update DNS record to add an alias for distribution on Route 53
- Demo
1. Check the version of Node JS & NPM

If Node JS is not installed in your development machine then you can download it from here: https://nodejs.org/en/
You can use “nvm” ( node version manager ) to upgrade/downgrade the Node JS version easily, For more information please visit: https://github.com/nvm-sh/nvm/blob/master/README.md
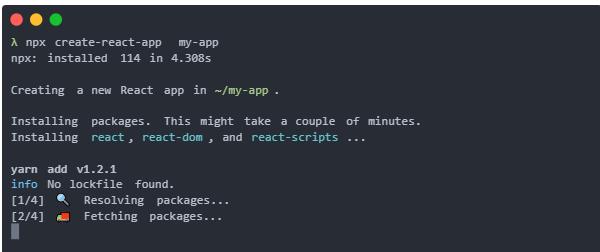
2. React CLI Tool to build fresh react application
Refer to this document and build your fresh react application using npx create-react-app my-app command,
If you’ve previously installed create-react-app globally via npm install -g create-react-app, we recommend you uninstall the
package using npm uninstall -g create-react-app or yarn global remove create-react-app to ensure that “npx” always uses
the latest version.
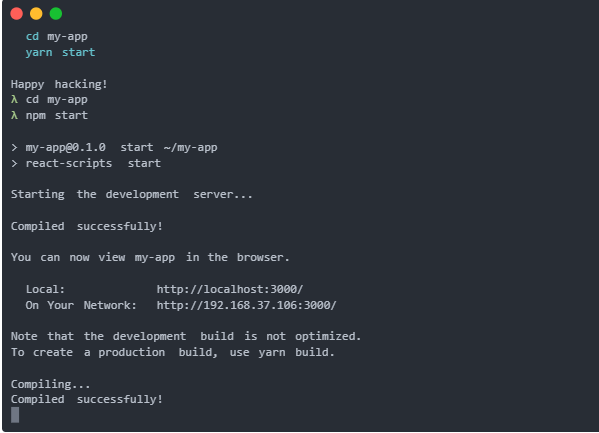
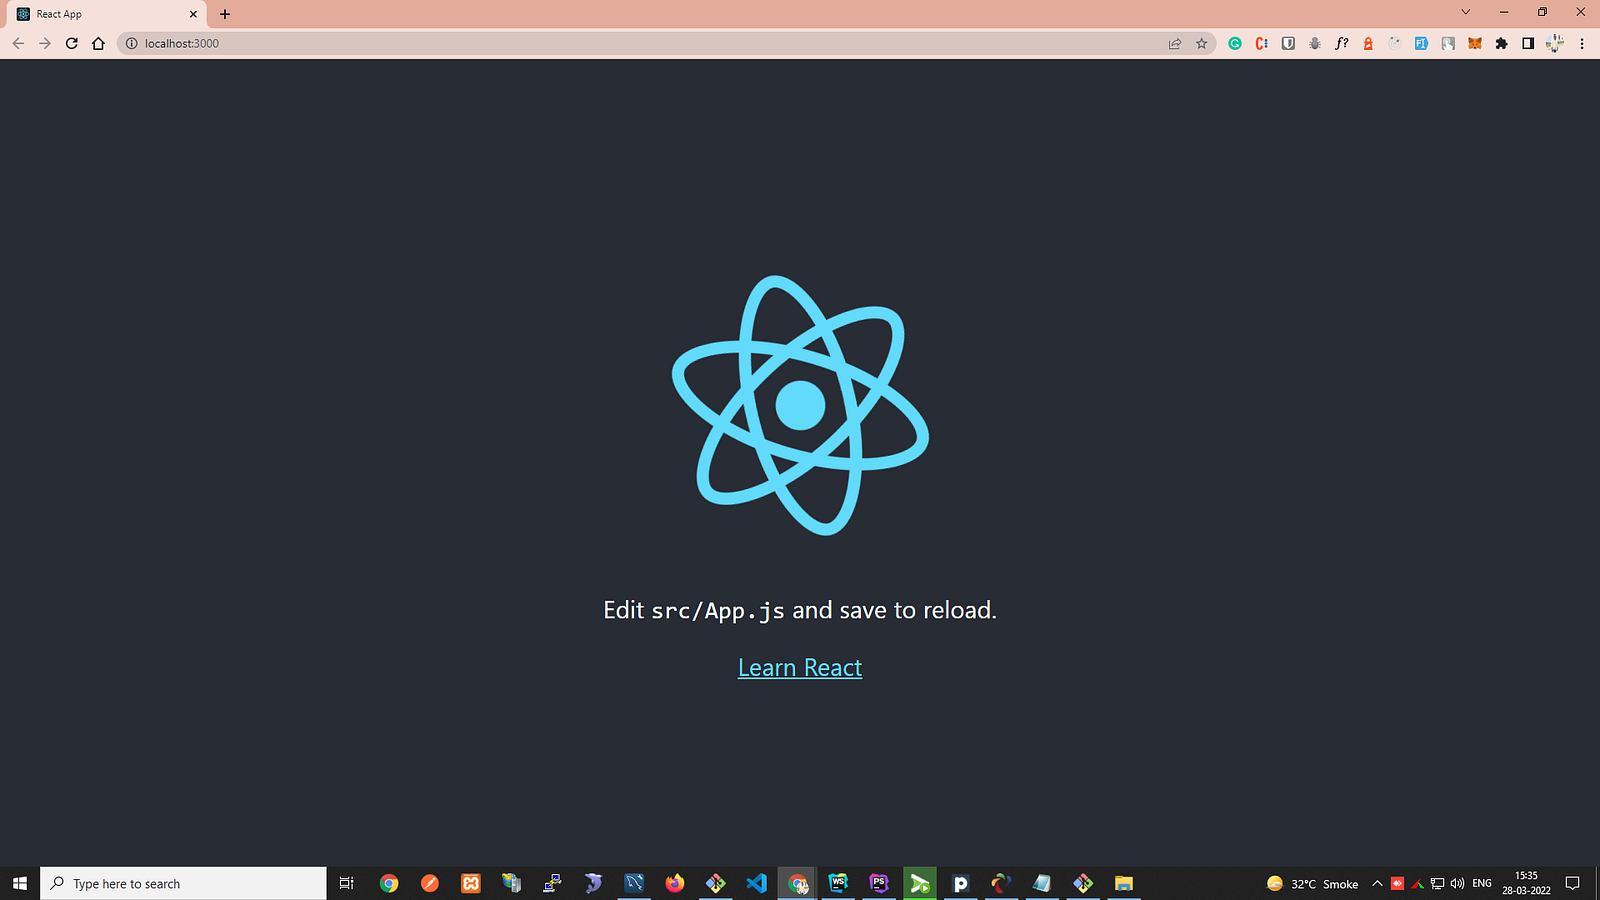
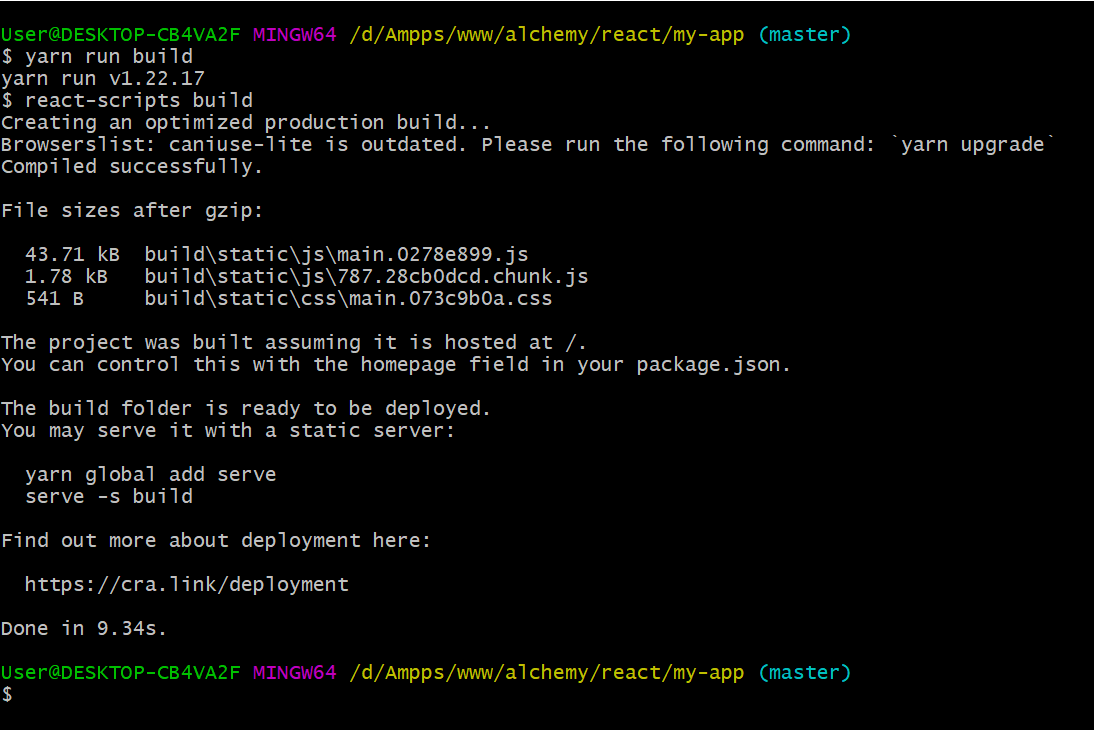
Once your react application will run successfully you can run a yarn run build command to generate a build
3. Setup S3 bucket on AWS & upload build
- Log in with your AWS credentials
- Goto the S3 service
- Click on the “Create bucket” button
- Set a bucket name and other configurations if required
- Click on the “Create bucket” button at the bottom of the form
- Upload all the files and folders from the “build” directory of your project
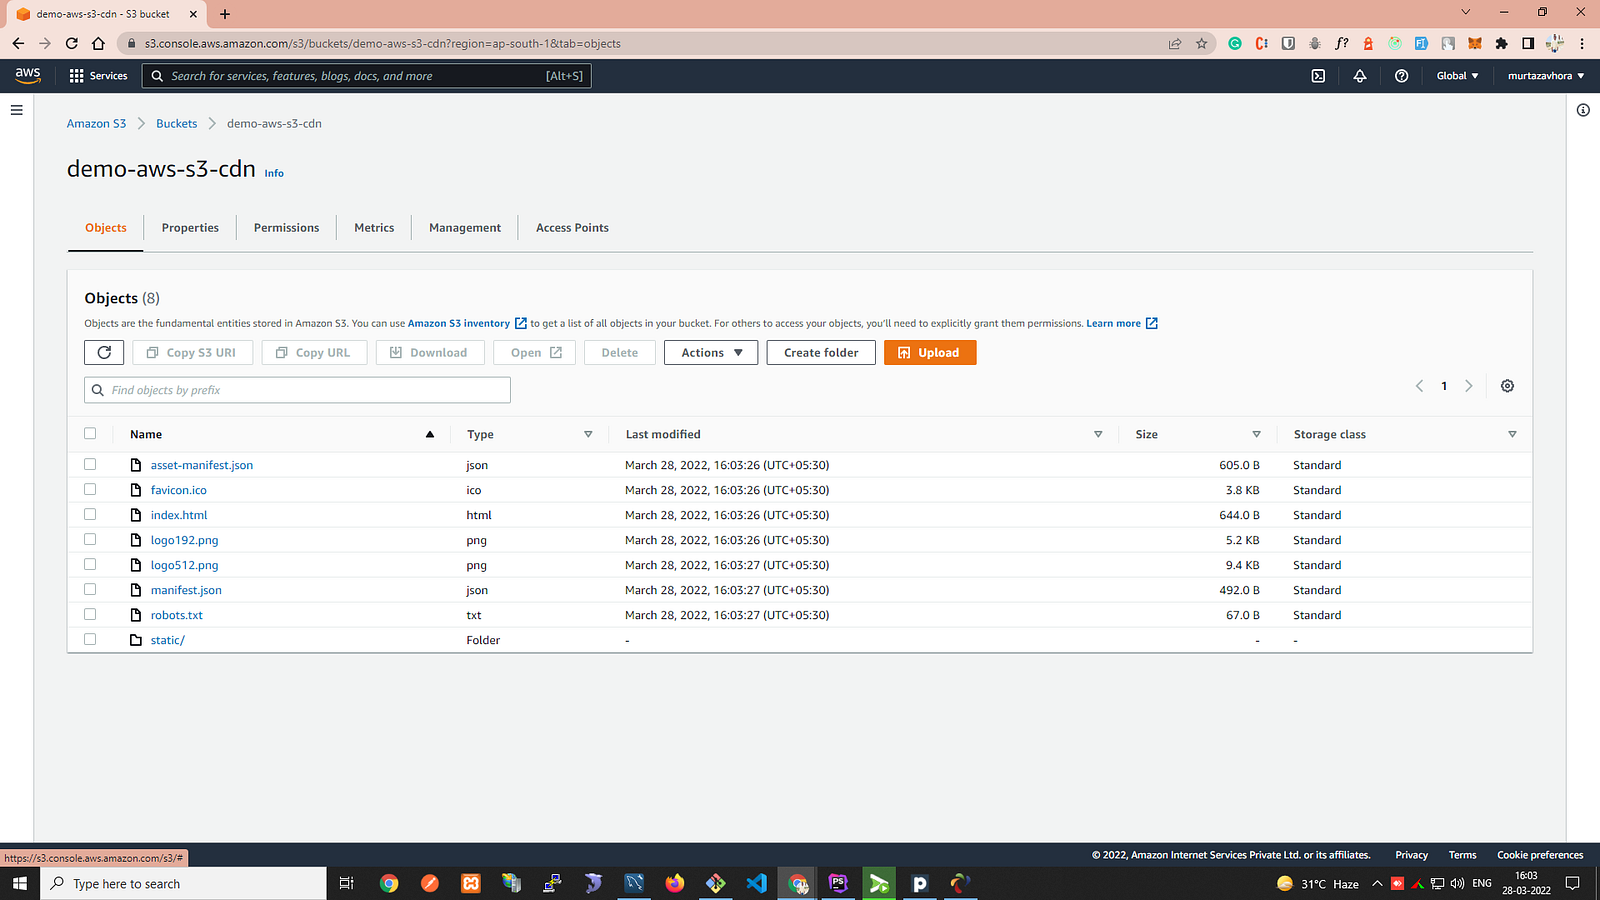
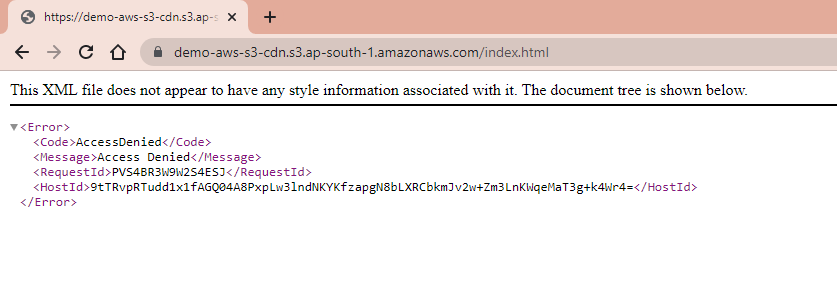
If you click on the index.html file you will get an object URL like “https://demo-aws-s3-cdn.s3.ap-south-1.amazonaws.com/index.html”, but if you open it on your browser it won’t work the reason is our bucket is not publically accessible

4. Create a certificate from the AWS Certificate Manager and update the DNS record
You can review this document to get a detailed understanding of AWS Certificate Manager,
Steps…
- Change the region from the top bar and select “US East (N. Virginia)”
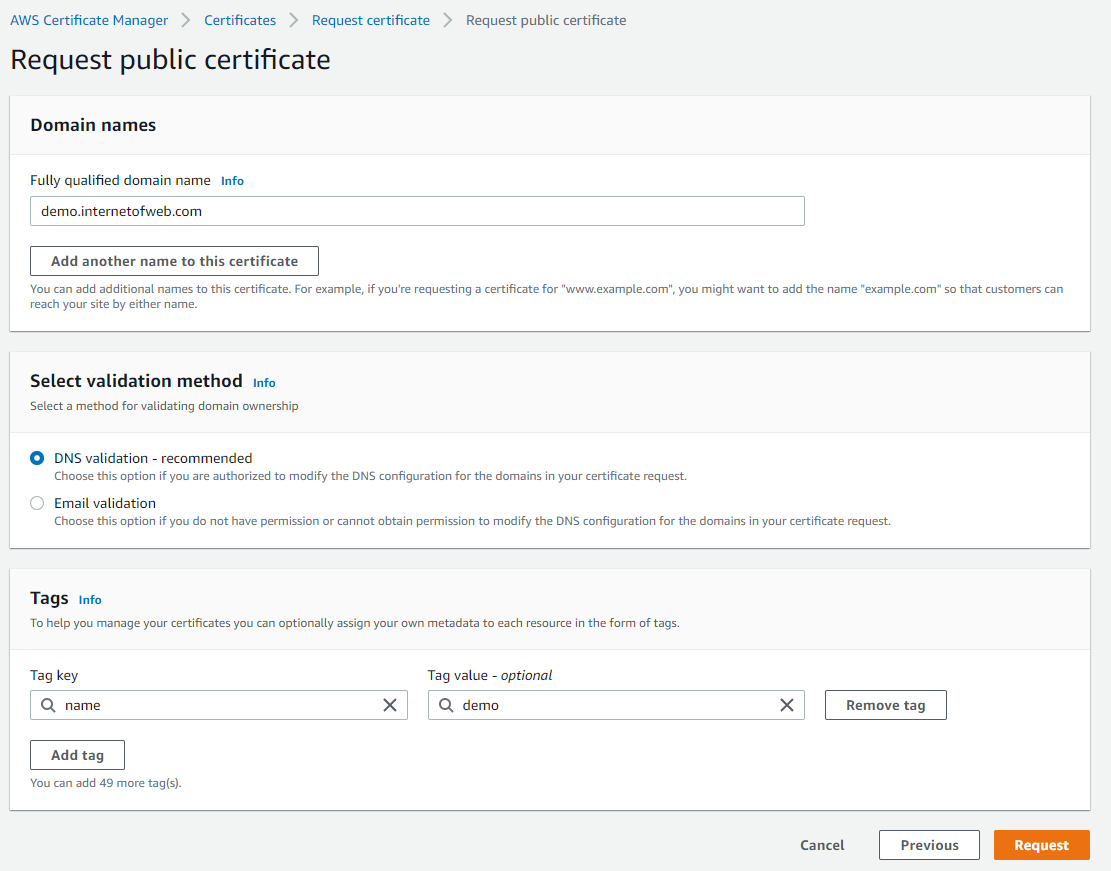
- Click on the “Request a certificate” button
- Write “Fully qualified domain name”
- Click on the “Request” button
- Go to the detail page of your requested certificate from the “Certificates” and create a record in “Route 53”
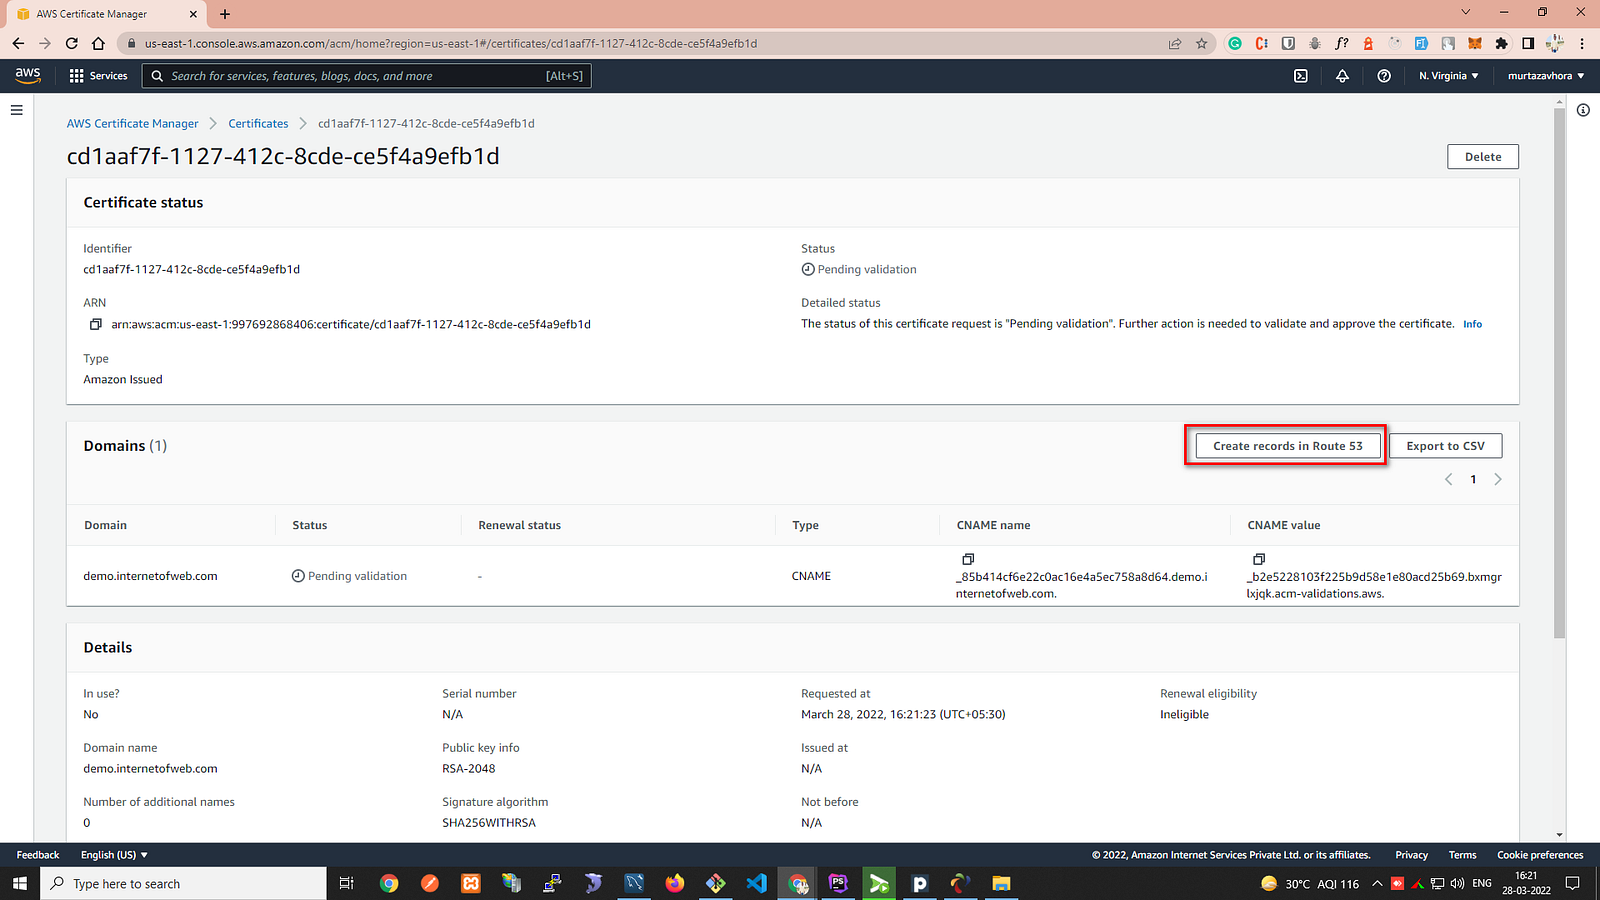
- After some time status will be changed from “Pending verification” to “Issued”
- Now you can use this certificate in cloud front distribution
5. Create distribution (CDN) on AWS
- Goto the Cloud Front service
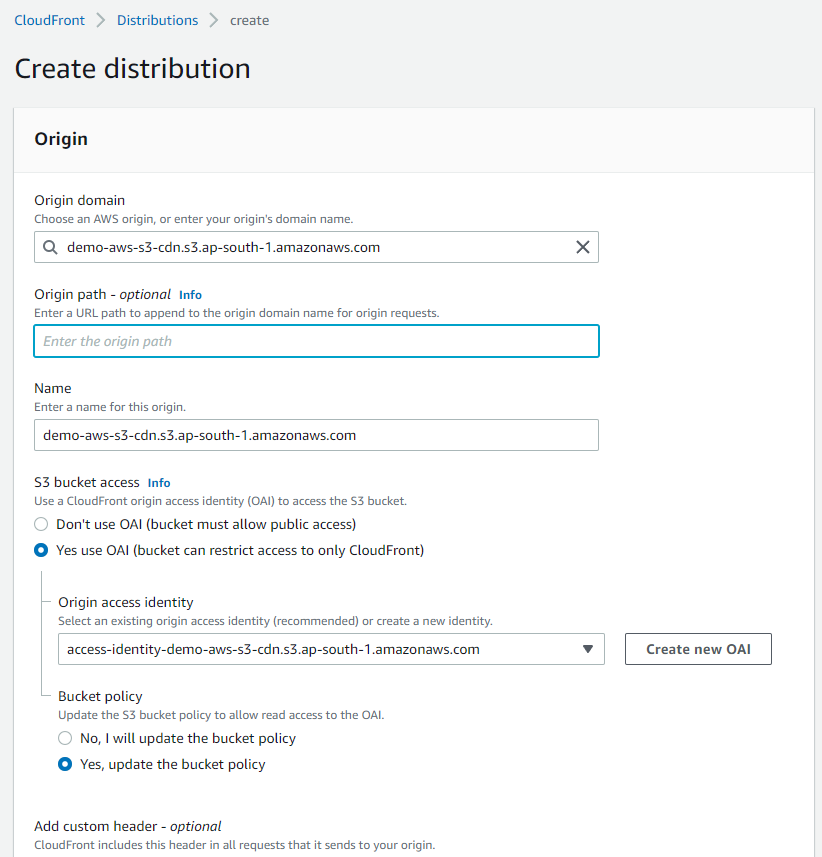
- Click on the “Create Distribution” button
- Choose “Origin domain”
- Select “Yes use OAI (bucket can restrict access to only CloudFront)”
- Select “Yes, update the bucket policy”
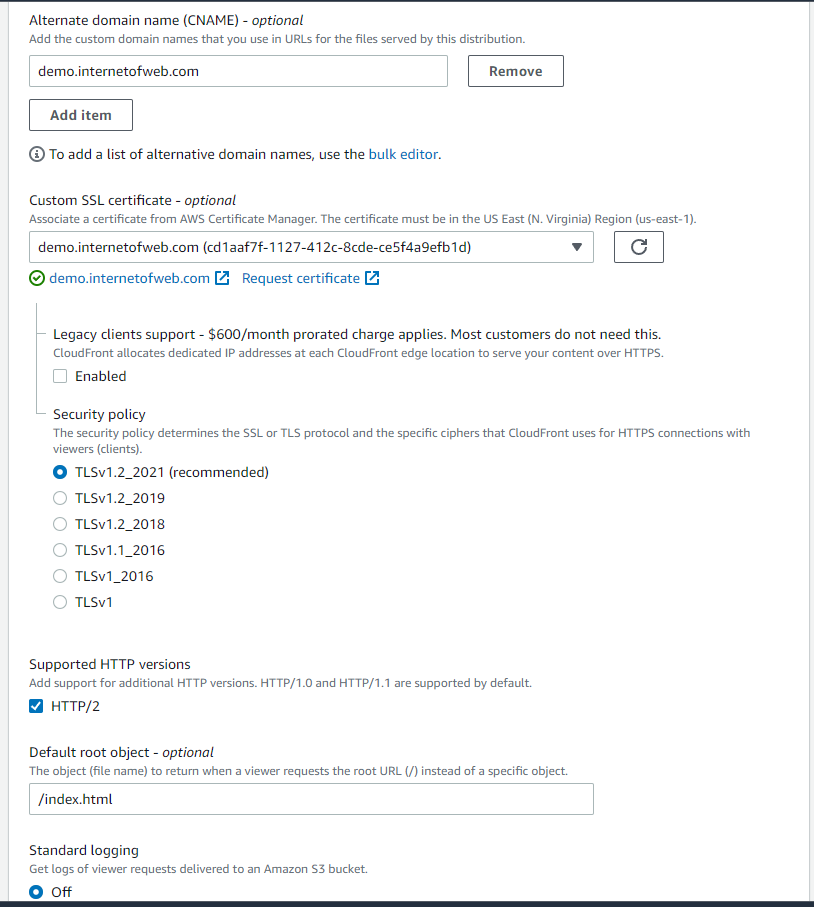
- Choose “Custom SSL certificate — optional”, The certificate which you created using AWS Certificate Manager
- “/index.html” will be the default root object — optional
- Once your distribution is enabled and deployed the last step is to create an alias of CDN in “Route 53”
6. Update DNS record to add an alias for distribution on Route 53
- Goto the Route 53 service
- Click on the “Create Record” button
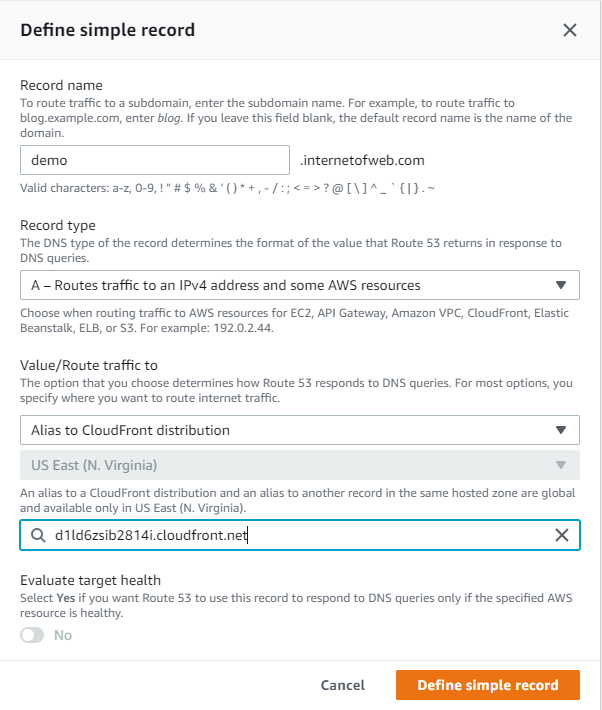
- Choose “Simple Routing” from the route policy
- Click on the “Next” and Define the simple record as below
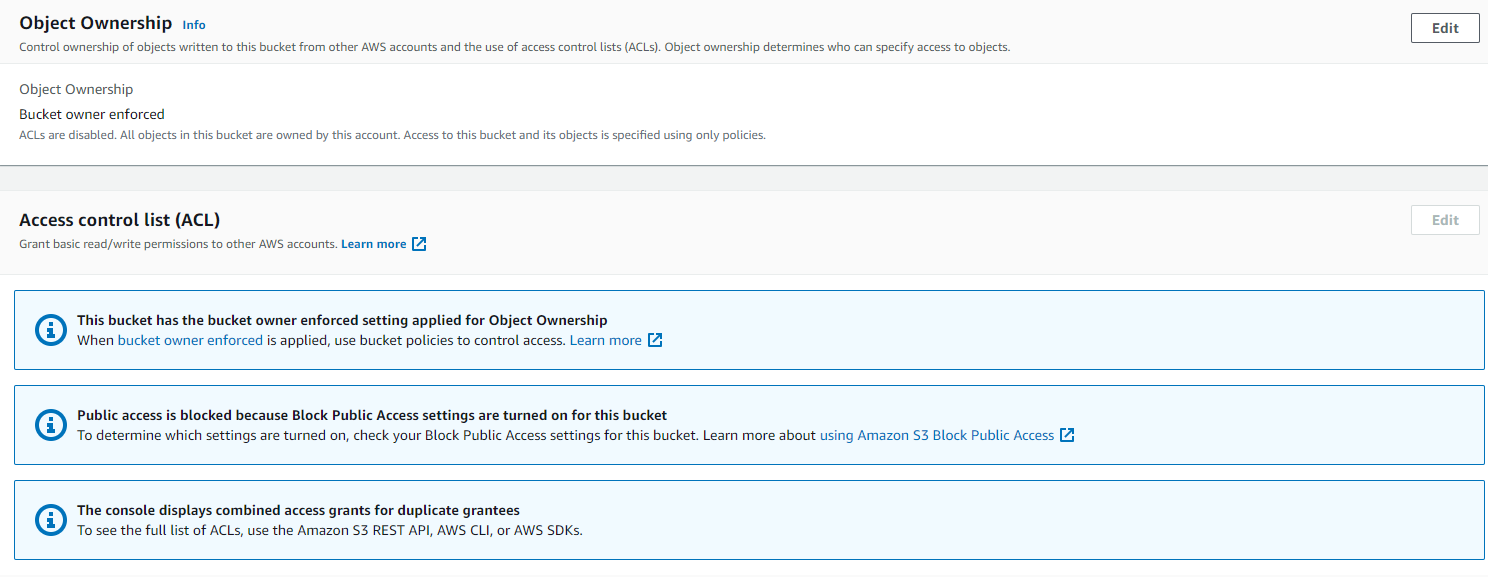
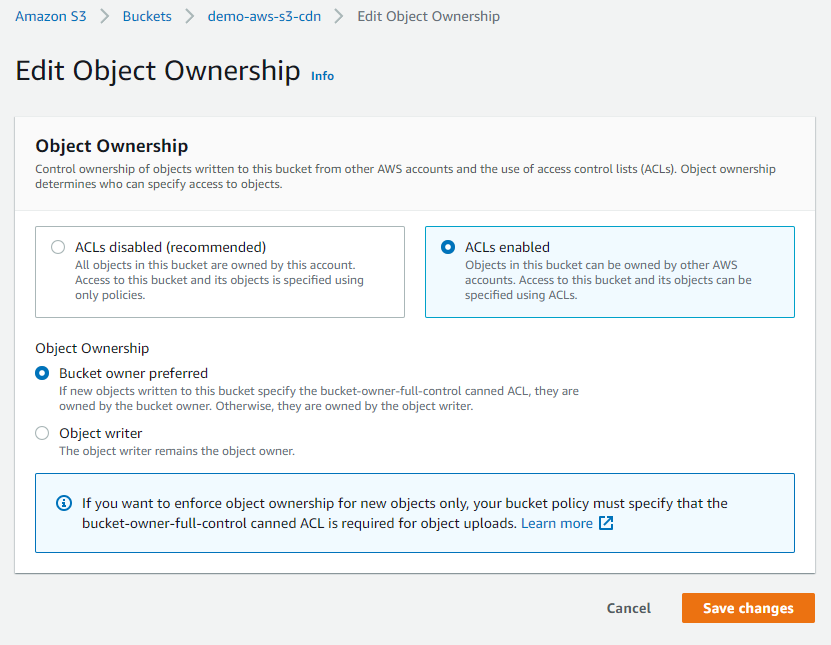
https://demo.internetofweb.com will work for you but if you still face any issues with this URL then you can check the Object Ownership and select “ACLs enabled”
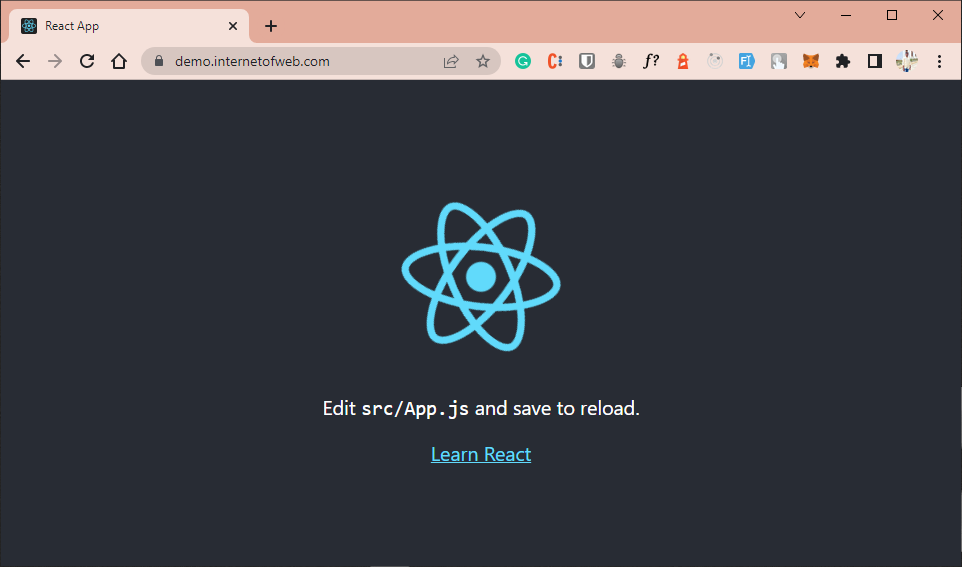
7. Demo
https://demo.internetofweb.com
Thanks :-)
Murtaza Vohra


